
01. How to successfully setup a widget
This section will guide you through accessing the Widgets feature and beginning the process of creating a new widget.
Access the App: First, log in to your Dynamatic Dashboard at the following link: https://dashboard.dynamatics.app/
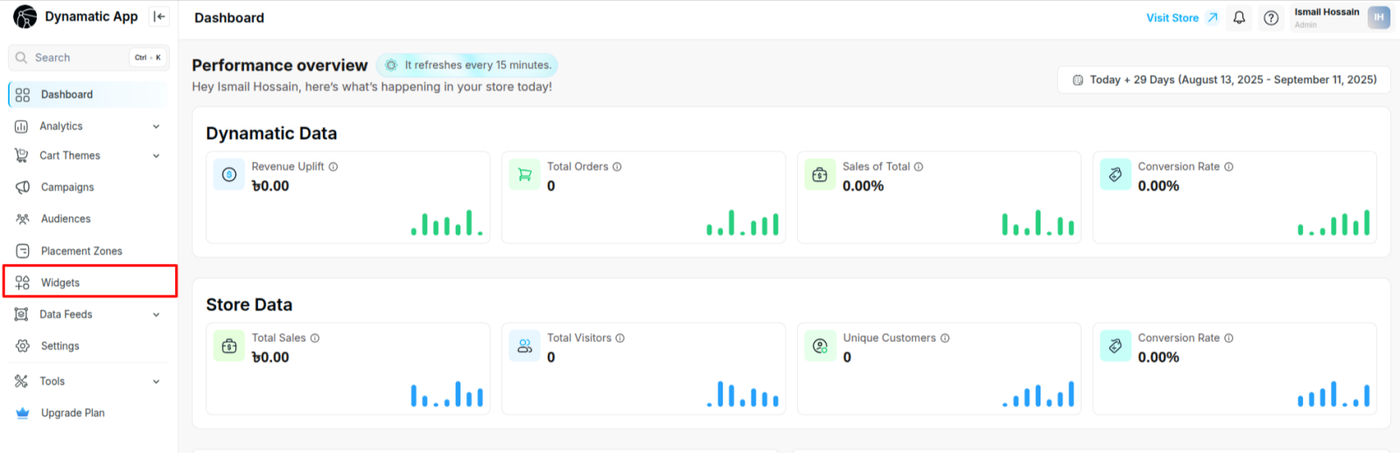
Navigate to Widgets: From the main dashboard, click on the Widgets feature in the navigation menu on the left side of the screen.
Once you're in the Widgets section, you can start creating new widgets to customize your store's experience.
When you click on the Widgets feature in your Dashboard, you will see a list of any widgets you have already created. If this is your first time, you will also find pre-configured default widgets to help you get started.
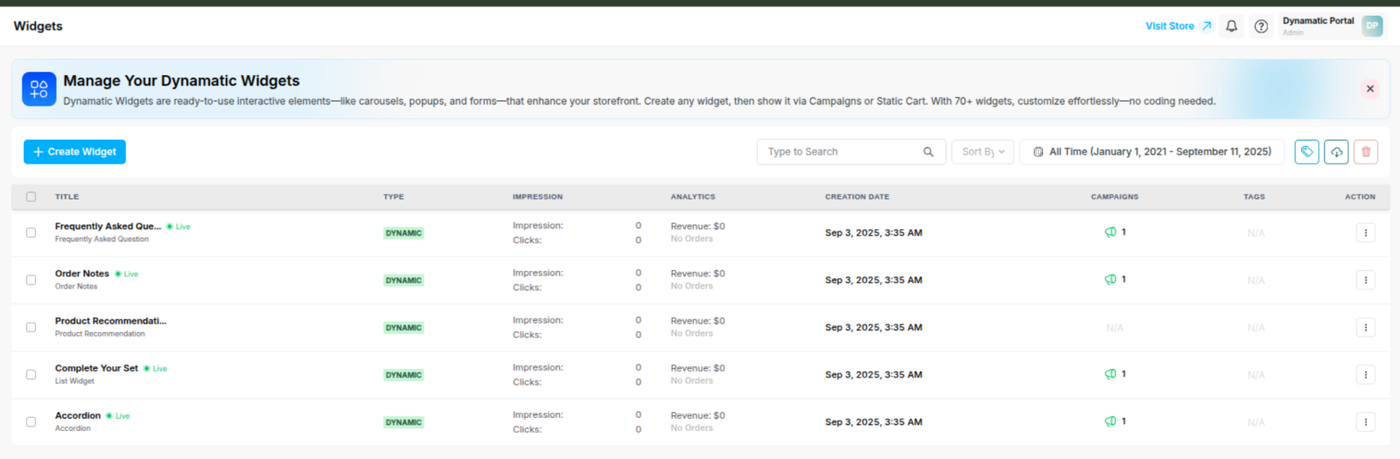
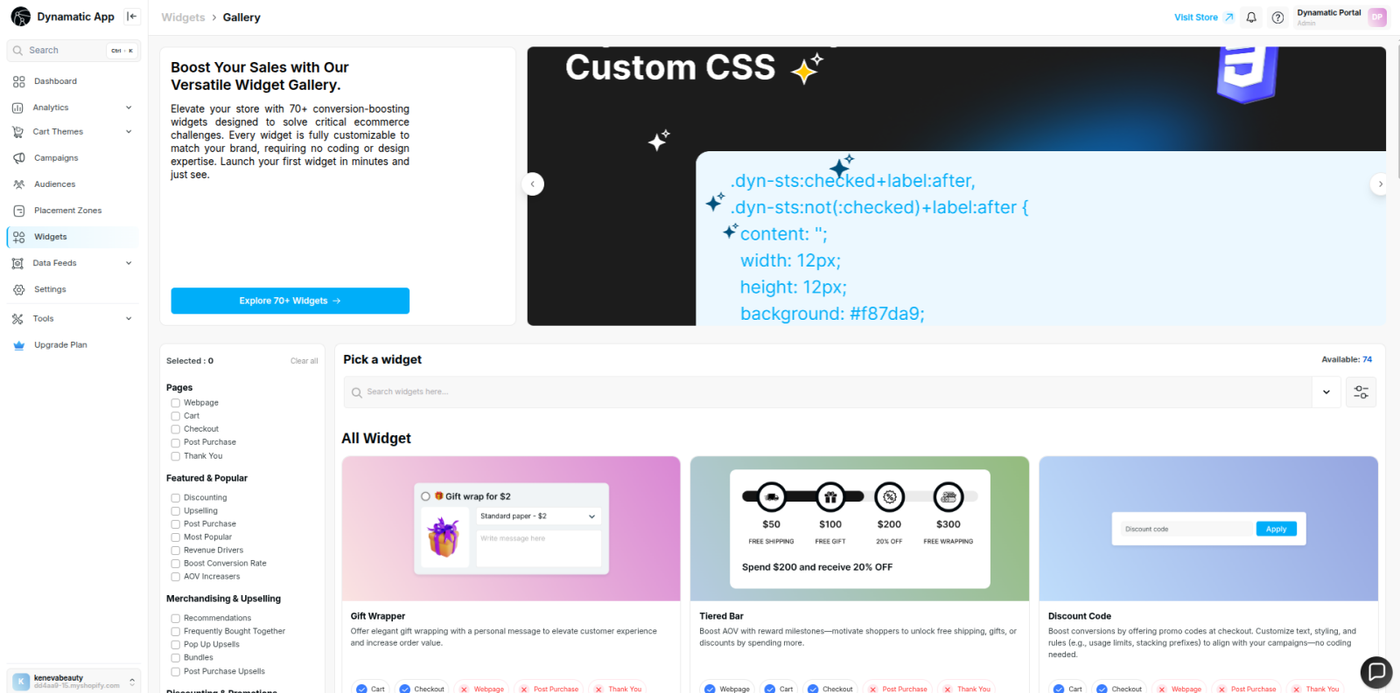
From this page, locate and click the Create Widget button. This will redirect you to the widget gallery, which features a wide variety of widgets designed to enhance your store.
You can explore our widget documentation and proceed with setting up the widget of your choice. Once the setup is complete, you can move on to the next step — creating your audience from here and continue following the remaining steps accordingly.
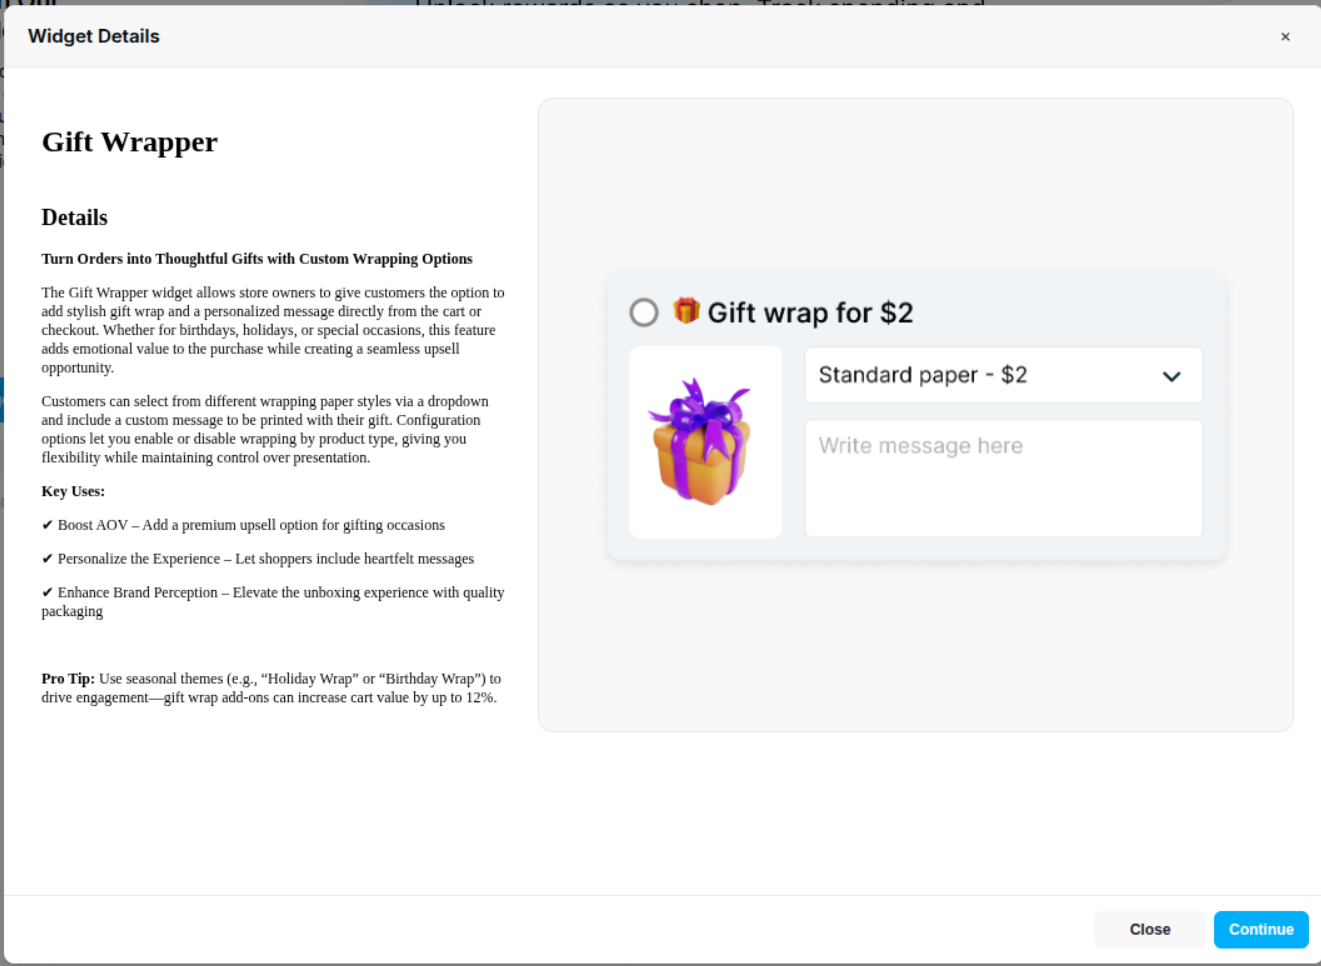
Setting Up the "Gift Wrapper" Widget
For this example, we will create a basic "Gift Wrapper" widget.
Find the Widget: Use the search bar in the widget gallery to search for "gift wrapper."
Select the Template: The "Gift Wrapper" widget will appear at the page. Select a template Click on it to proceed.
Configure Widget Details: You will be taken to a new page titled Add New Widget. Here, you will need to fill in the following required fields to configure your new widget:
 | 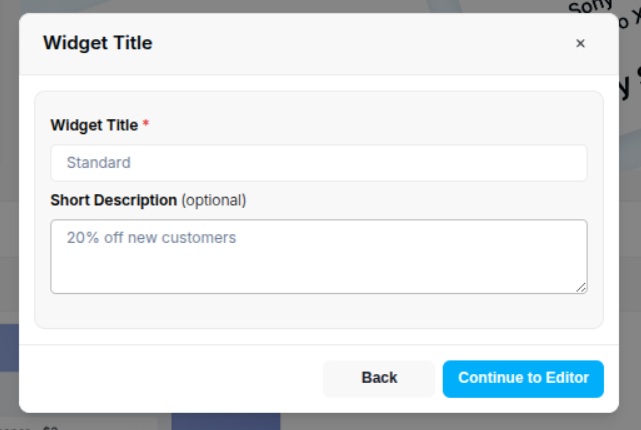 |
Widget Title: Give your widget a descriptive name.
Short Description: Provide a brief summary of what the widget does.
Template: Select the template for your widget.
Configuring Your Widget: Content, Style, and Advanced Settings
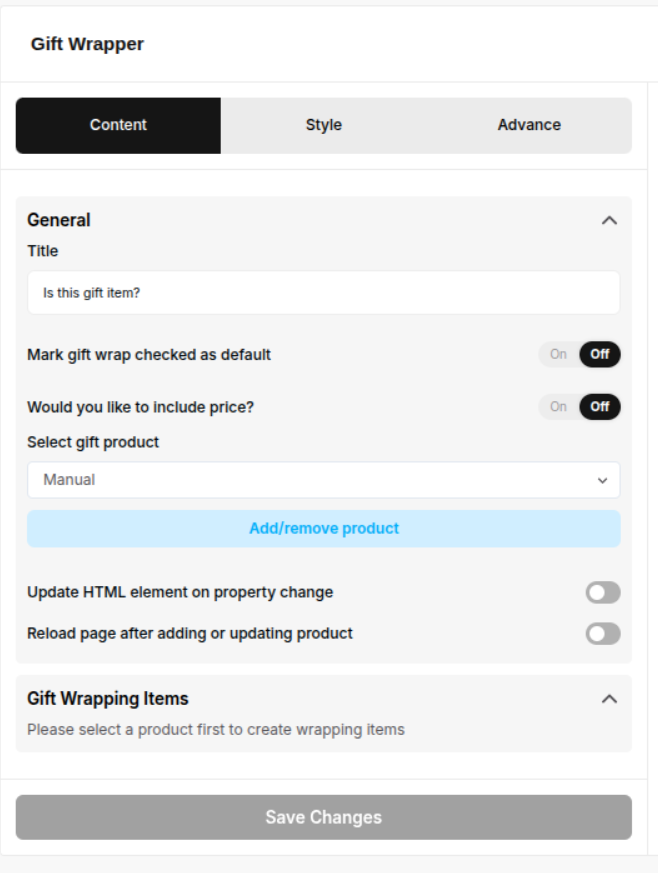
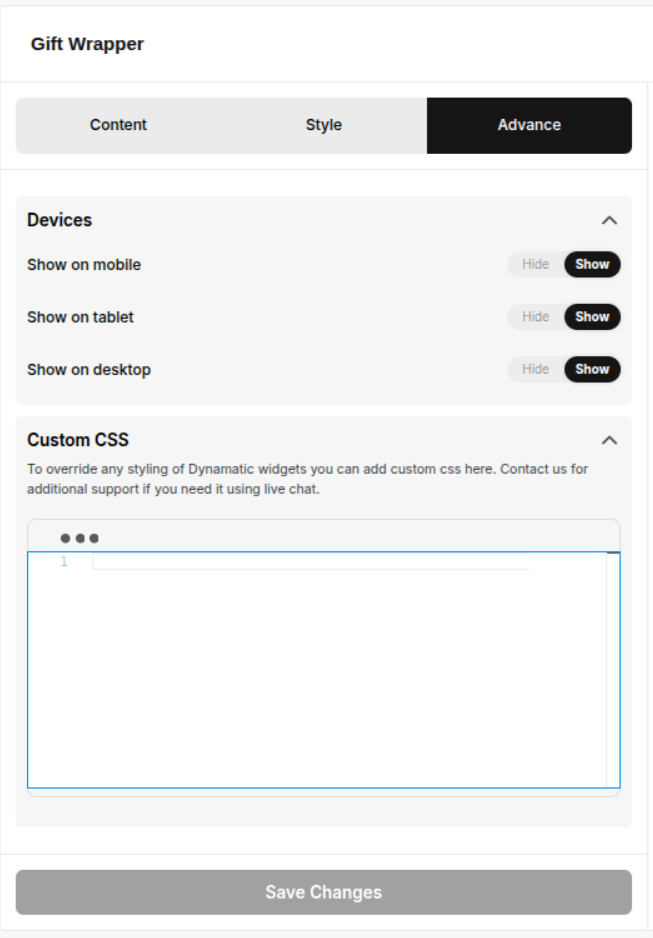
After you have filled in the basic details for your new widget, click Next to access the main configuration page. Here, you will find three primary sections that are crucial for customizing your widget's functionality and appearance:
Content: Within the General option, you can set the title for your widget's items and adjust HTML properties to fit your specific needs.
Style: This section allows you to fully customize the look and feel of your widget. You can adjust the General appearance and the Gift Wrapping Area by changing colors, fonts, background, and other visual elements.
Advanced: Here, you have more granular control, including managing device visibility to ensure your widget displays correctly on different screens and adding custom CSS for more in-depth design control.
 |  |  |
Understanding the Live Preview Window
This section serves as your preview window. As you make changes to the widget's content, style, or advanced settings, you will see a real-time preview of how the widget will appear.
The preview is designed to accurately reflect how the widget will look on your live store once it is placed in a specific placement zone. We will cover how to create placement zones and campaigns in a future guide, which will help you get your widget live on your store.
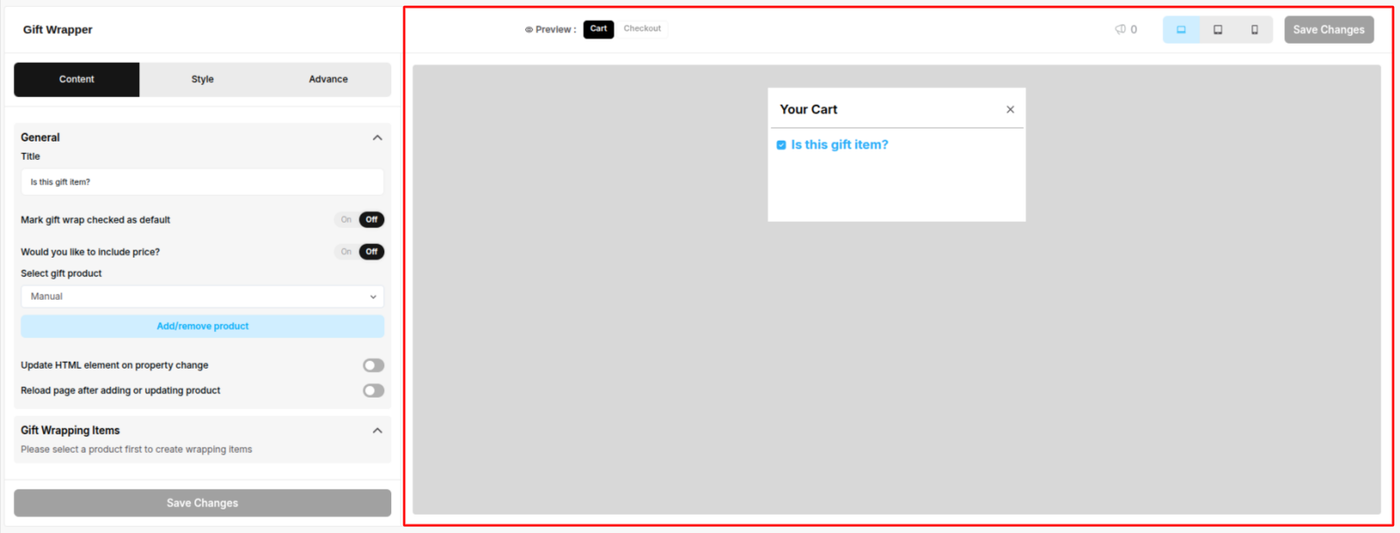
After you have completed all your customization's, click the Save Changes button.
Congratulations! Your widget is now created. You can return to the Widgets in your dashboard to see the new widget you just configured in your list.
Next Steps: Activating Your Widget
Now that your widget has been created and configured, the next crucial steps are to set up a Campaign, define your Audience, and create a Placement Zone. These three elements are essential for determining where, when, and to whom your widget will be displayed on your storefront.
In the upcoming sections, we will guide you through each of these steps to ensure your widget is successfully launched and visible to your customers.
02. Understanding and Creating Audiences