
Swap to Subscription (STS)
The Swap to Subscription (STS) Widget is a high-value tool designed to maximize recurring revenue and Customer Lifetime Value (CLV). It encourages customers who have added a subscription-eligible product to their cart for a one-time purchase to easily switch to a recurring subscription model instead.
Widget Overview
| Attribute | Description | Requirement |
| Widget Name | STS Widget (Swap to Subscription) | Requires an active Third-Party Subscription App (e.g., Recharge, Bold) to function. |
| Core Purpose | Converts one-time purchases into subscriptions directly in the cart, increasing predictable revenue. | Products must be set up with active subscription plans. |
| Key Features | Easy toggle between one-time and subscription; displays subscription incentives (e.g., discounts); automatic cart update upon swap. | Only works in the Cart. |
| Limitations | Only supports products with active subscription plans. Not available on Webpages or Checkout. |
Configuration Options
The STS widget is configured using the standard three-tab structure: Content (logic and messaging), Style (visuals), and Advanced (technical settings).
1. Step-by-Step Widget Creation
-
Click Create Widgets in your Dynamatic dashboard.
-
On the "Add New Widgets" page, fill in the Widget Title (e.g., "Cart Subscription Offer") and a brief description.
-
Search for and select the STS Widget from the template list.
-
Click Next.
-
Select a visual template and click Select.
2. Content Tab: Logic and Messaging
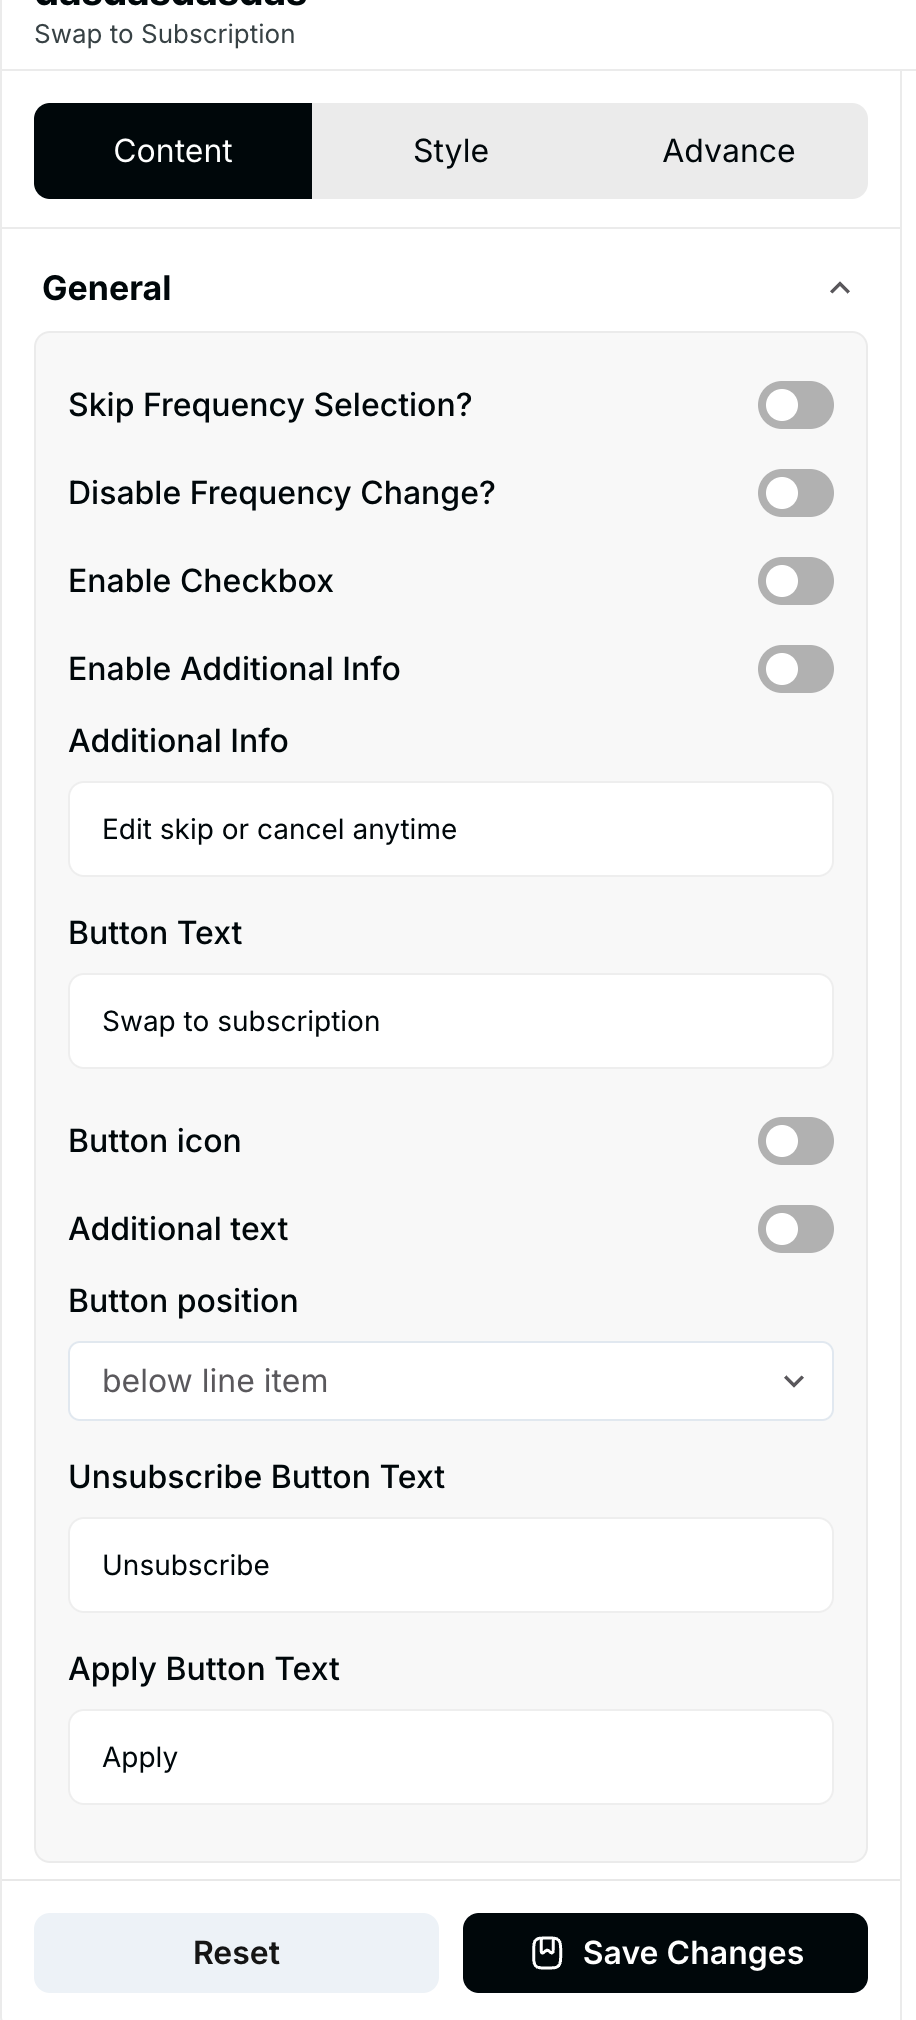
The Content section defines the subscription rules and all user-facing text elements.
| Setting | Functionality | Detail |
| Incentive/Discount | Sets the perk for subscribing. | Define the subscription discount (e.g., "Save 10%") or other incentive. |
| Frequency Selection | Controls how the customer selects the delivery frequency. | Customize options for weekly, monthly, bi-monthly, etc. |
| Disable Frequency | Hides the frequency selection menu. | Forces the customer to accept the default subscription frequency. |
| Enable Checkbox | Adds a checkbox element to accept terms. | Used for confirming acceptance of subscription terms or policies. |
| Additional Text | Allows for key information to be displayed. | Used to link to your Subscription Policy or FAQ page. |
| Button Text & Icon | Customizes the main action elements. | Set the text for the Swap button and the Unsubscribe button. Customize button icons. |
| Button Position | Controls the location of the action buttons. | Adjust the alignment or placement of the subscription buttons within the cart widget. |
| Product Eligibility | Control when the widget appears. | Show/hide the widget for specific product types or only for items with active subscription plans. |
3. Style Tab: Visual Customization
The Style section allows for extensive design control over the widget elements:
-
Layout: Adjust the overall container and message layout.
-
Buttons: Customize the background color, text color, font size, and font weight for the Subscribe Button, Unsubscribe Button, and any Apply Button.
-
Select Field: Control the appearance of the frequency selection dropdown.
4. Advanced Tab: Final Refinements
The Advanced tab is for final display control and custom code integration:
-
Device Setting: Select the specific devices (Desktop or Mobile) where the widget should be visible.
-
Custom CSS: Input custom CSS code for advanced styling not covered by the standard options.
Once the STS widget is configured, click Save Changes. It must then be connected to a Cart Placement (Zone) via a Campaign/Experience to appear in the customer's cart.
Publishing Your Configured Widget Live
This following documentation section provides the final, detailed steps required to publish your fully configured widget and make it visible to customers on your live storefront.
01. How to successfully setup a widget
02. Understanding and Creating Audiences